TL;DR
App store screenshots are the single biggest conversion lever for mobile apps, with 60% of users making install decisions based on them. This guide compares 10 tools and approaches for creating them in 2026, from free options like AppMockUp to AI-first generators like Nuvex to integrated app studios like x1. The right pick depends on whether you need a standalone screenshot tool or a full build-to-launch workflow.
Most developers treat app store screenshots as an afterthought. They spend weeks designing, coding, and testing their app, then scramble through a painful last-mile process of exporting screens, picking device frames, writing headlines, and resizing everything to Apple’s exact pixel requirements. It shouldn’t take one to three full days per release, but for most teams, it does.
Here’s what makes this painful: screenshots do more selling than your app description ever will. Around 60% of users decide whether to install based on the app name, rating, and screenshots alone. A Medium author who tested multiple tools in early 2026 put it bluntly: “a mediocre app with great screenshots outperforms a great app with mediocre screenshots every single time.”
The tool landscape has fragmented into distinct categories, from pure template editors to fully AI-composed designs to integrated app studios where screenshots are a byproduct of the build process. Below, we break down 10 options across pricing, features, and real-world tradeoffs so you can pick the right one.
If you’re still in the building phase, x1’s Launch studio handles screenshots, App Store listings, and submission in one place, which eliminates the tool-switching problem entirely.
If you only need to create professional App Store screenshots, Launch Shots and AppMockUp Studio are among the best free choices, while AppScreens is ideal for agencies and ButterKit is the strongest native Mac option. If you're building a new iOS app from scratch, an integrated platform like x1 can generate screenshots as part of the build and App Store submission workflow, eliminating the need for a separate screenshot tool.
Key Takeaways
Screenshots influence roughly 60% of install decisions.
Most users never view more than the first three screenshots.
Localization often improves App Store conversion by 30% or more.
Direct App Store Connect upload saves time on every release.
AI tools reduce design work but offer less creative control.
Integrated app builders eliminate an entire screenshot workflow.
At-a-Glance Comparison Table
Tool | Starting Price | Free Tier | Approach | Localization | Direct Upload | Best For |
|---|---|---|---|---|---|---|
x1 Launch Studio | $99/mo (Builder) | ~100 free credits | Integrated app studio | Yes | Yes | Builders who want screenshots without a separate tool |
AppLaunchpad | $15/mo (annual) | Watermarked | Pure template | Yes | No | Teams wanting template variety |
AppScreens | $90/yr (Pro) | Limited | Template + AI assist | Yes (80 languages on Scale) | Yes | Agencies managing multiple apps |
AppMockUp Studio | Free | Full, no watermarks | Mockup/scene | No | No | Budget-conscious indie devs |
Screenshots Pro | $19/mo | Limited free plan | Pure template | Yes | No | Teams scaling with API automation |
ButterKit | $79 one-time | No | Native Mac app | Yes (50 languages) | Yes | Apple-first developers wanting offline tools |
Launch Shots | $9/mo (annual) | Full, no watermarks | Template + AI assist | Yes (100+ languages) | Yes | Indie devs wanting the most complete free workflow |
Nuvex | Credit-based | Free starter | Full AI composition | Yes | No | Users who want AI to generate the full design |
Fastlane | Free (open-source) | Full | Automation/CI/CD | Manual | Via | Technical developers with CI/CD pipelines |
Figma Templates | Free (Community) | Full | DIY design | Manual | No | Designers who want total creative control |
Best App Store Screenshot Tools by Use Case
If You Want... | Best Tool |
|---|---|
Completely free | AppMockUp Studio |
Best AI generation | Nuvex |
Best templates | AppLaunchpad |
Agency workflow | AppScreens |
Native Mac app | ButterKit |
CI/CD automation | Fastlane |
Figma workflow | Figma Templates |
Complete build-to-launch platform | x1 |
What Are App Store Screenshots?
App Store screenshots are promotional images displayed on an app's App Store product page. They showcase the app's interface, highlight important features, and communicate the primary value users receive after installing the app. Unlike screenshots taken during development, App Store screenshots are marketing assets designed to increase conversion rates and encourage downloads.
What to Look for in an App Store Screenshot Tool
Before picking a tool, know what actually matters.
Correct sizes and auto-export. Apple’s requirements are pixel-exact. For 2026, the primary size is 1320 x 2868 pixels for the iPhone 17 Pro Max (6.9"). Even small discrepancies, like exporting at 1284 x 2778 instead of 1290 x 2796, trigger upload errors. Your tool needs to handle this automatically.
Localization support. This is the highest-ROI upgrade most indie developers skip. Case studies show 33% to 36% conversion gains from screenshot localization alone, with broader language coverage driving 101% to 128% more downloads. An app supporting just five languages needs 50 unique screenshot assets for a single release.
Pricing model. Subscription, one-time, or credits? One practitioner flagged a common trap: “Canceling subscription is not an option, since you need it to access your project and you’ll likely need to access it again from time to time in order to update your screenshots.”
Design quality without design skills. Templates, AI composition, and guided editors all solve this differently.
Direct App Store upload. Eliminates the most tedious manual step. Without it, you’re downloading files and re-uploading them through App Store Connect yourself.
For a deeper look at how the entire idea-to-App-Store workflow connects, including where screenshots fit, that context helps frame why some tools solve only one piece of the puzzle.
Common Mistakes That Hurt App Store Conversion
Many developers lose installs because of preventable screenshot mistakes.
Too Much Text
Large paragraphs are difficult to read on mobile devices.
Instead:
one headline
one benefit
one visual
Showing Settings Screens
Settings pages rarely communicate value.
Show:
dashboard
results
achievements
completed tasks
Ignoring Localization
Localized screenshots consistently outperform English-only assets in international markets.
Using Old Device Frames
Apple updates flagship devices every year.
Modern frames improve trust and make apps appear current.
Inconsistent Branding
Use identical:
colors
typography
icon style
illustration style
across every screenshot.
The 10 Best App Store Screenshot Tools in 2026
1. x1 Launch Studio
Best for: Founders already building native iOS apps who want zero tool-switching between building and launching.
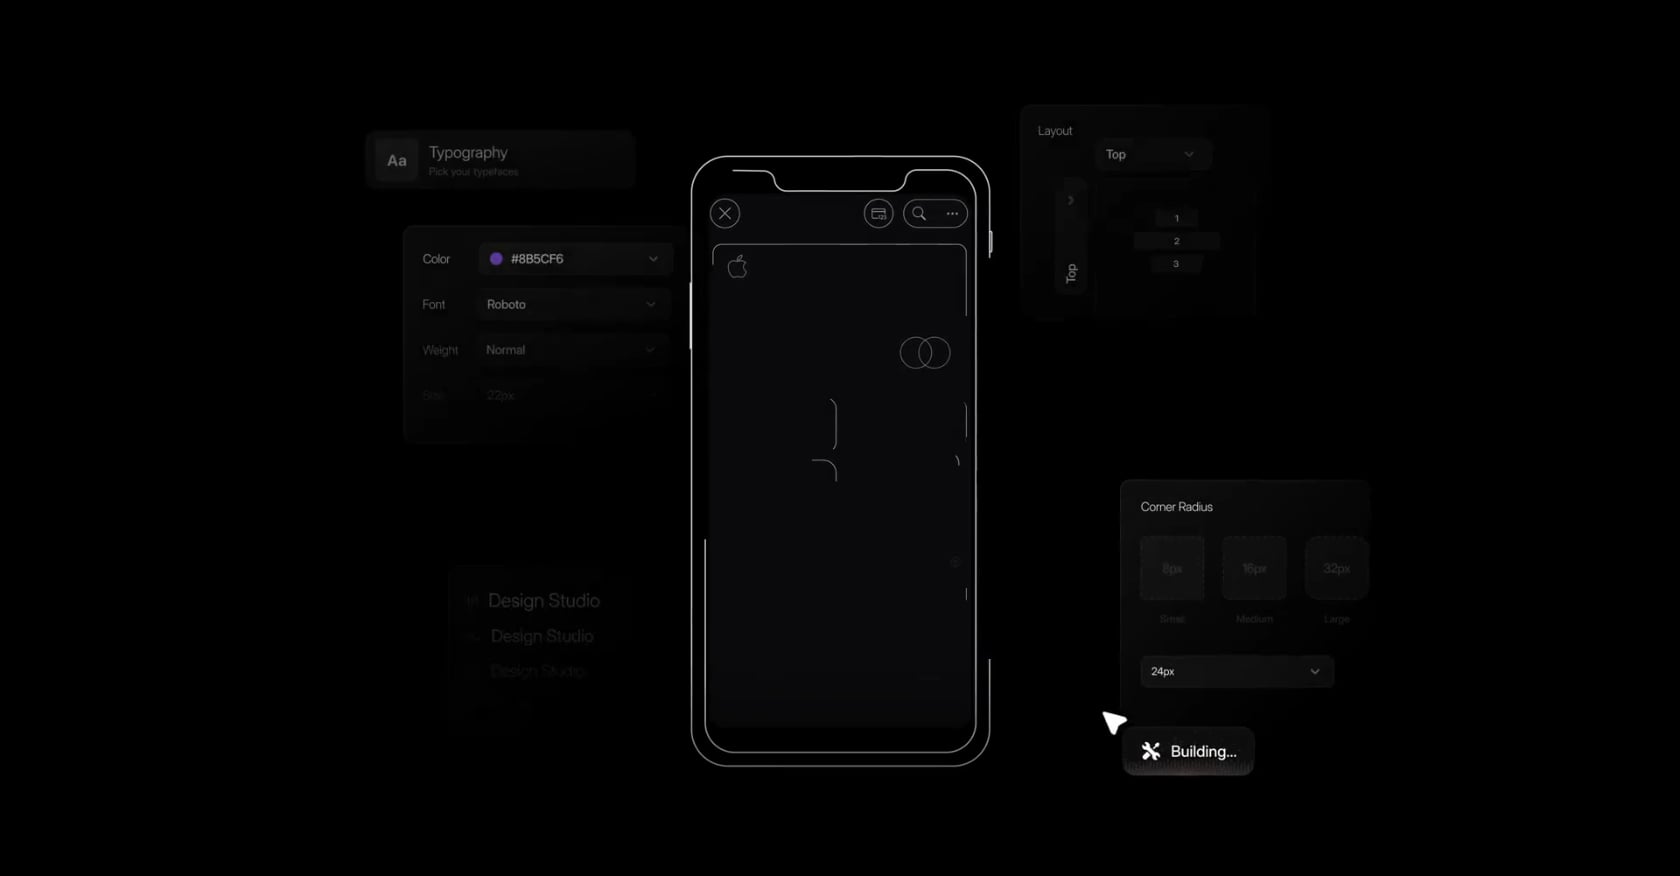
x1 is not a standalone screenshot generator. It’s an AI app studio where screenshots are created inside the Launch studio alongside your App Store listing text and submission flow. The screenshots emerge from the same environment where you designed and built your app, so there’s no exporting screens from Xcode, uploading to a separate tool, downloading, and re-uploading to App Store Connect.
Pricing:
Builder: $99/mo ($66/mo billed yearly)
Pro: $199/mo ($133/mo billed yearly)
Max: $299/mo ($200/mo billed yearly)
Screenshots included in all plans
See the full x1 pricing breakdown for a detailed comparison of tiers.
Key features:
Screenshots created alongside App Store listing and submission
Part of a five-stage workflow (Plan, Design, Build, Launch, Iterate)
Produces native Swift/Xcode iPhone apps, not web wrappers
No separate screenshot tool needed
Tradeoffs:
iOS only. No Android support.
Requires an x1 subscription. Not useful if you just need screenshots for an existing app.
Early-stage product with fewer public case studies than established screenshot-only tools.
Who should consider this: If you haven’t built your app yet, starting with a screenshot tool is backwards. x1 makes more sense for someone going from idea to App Store because screenshots flow naturally from the design. You can see real apps built with x1 to evaluate the quality of what ships.
2. AppLaunchpad
Best for: Teams that want massive template variety and a quick start without design skills.
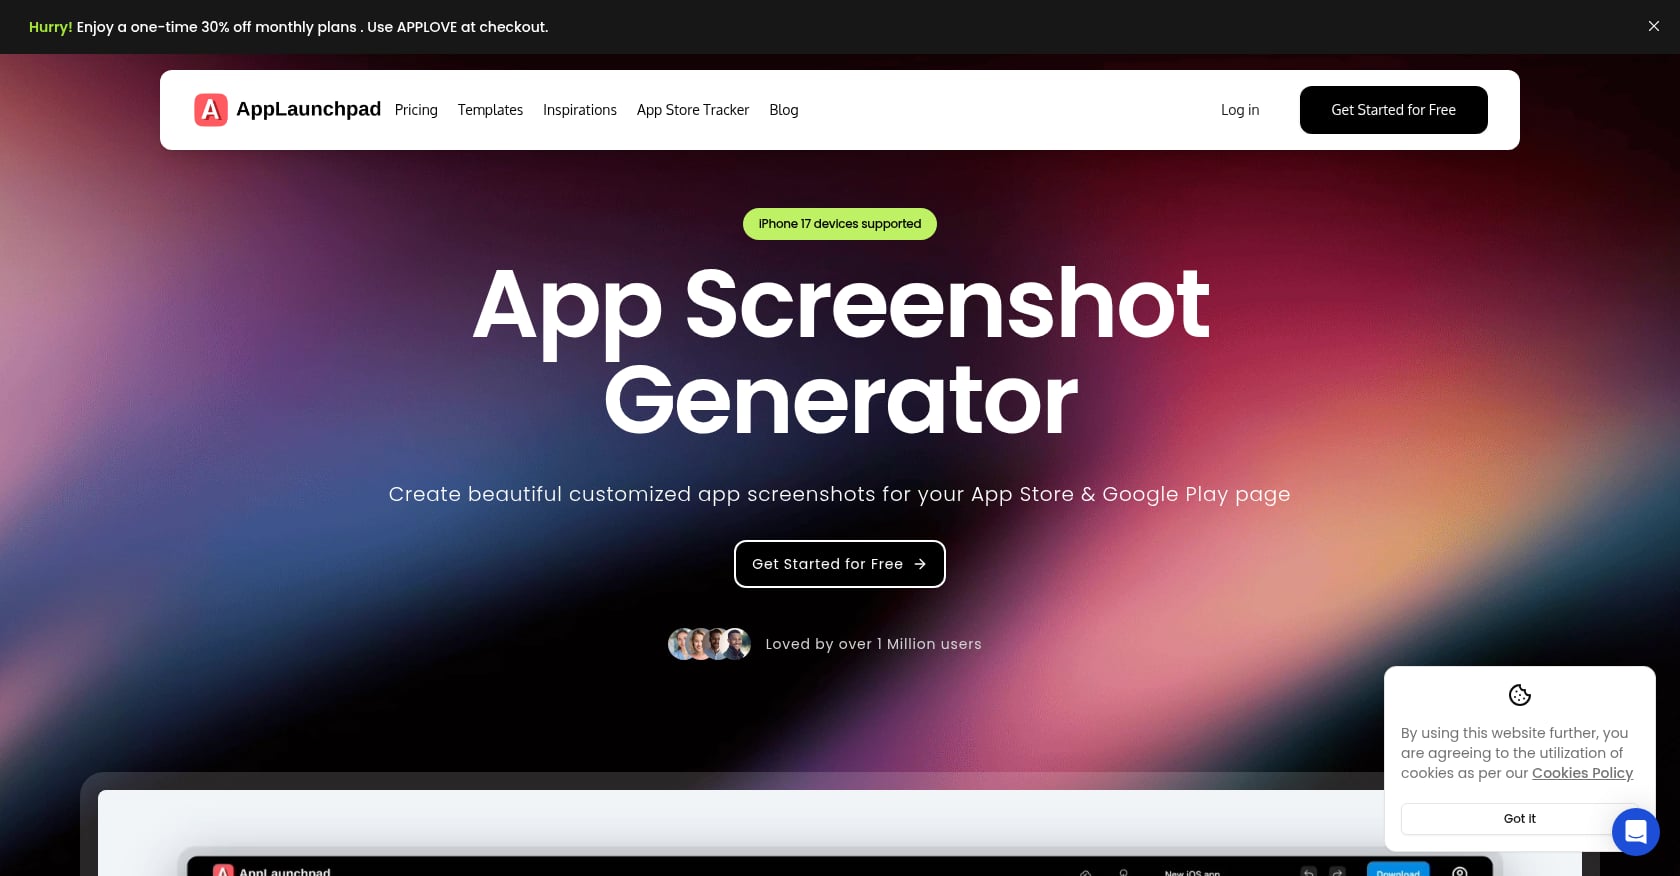
AppLaunchpad claims over 1,000 app store screenshot templates covering all current iPhones, Android phones, iPads, and tablets required by both the App Store and Google Play. The editor is intuitive enough that non-designers can produce professional-looking screenshots in under an hour.
Pricing:
Free tier available (watermarked exports, limited functionality)
Premium: $19/mo or $15/mo billed annually
Pro tier reported at $29/mo or $180/year by some sources
Key features:
1,000+ templates across device types
Automated screenshot localization
Covers all required App Store and Google Play dimensions
Easy drag-and-drop interface
Tradeoffs:
Free tier exports include watermarks, making them functionally unusable for production.
Uses fixed 2D device overlays. You can’t freely rotate or angle the device for depth.
No direct App Store Connect upload. You download files and upload manually.
Cloud-only, no offline access.
User perspective: Users report it saves significant time compared to Photoshop, but the paywall hits fast. You can explore the editor and templates freely, but you can’t export more than a limited number of times without paying.
3. AppScreens
Best for: Agencies and teams managing multiple apps with heavy localization needs.
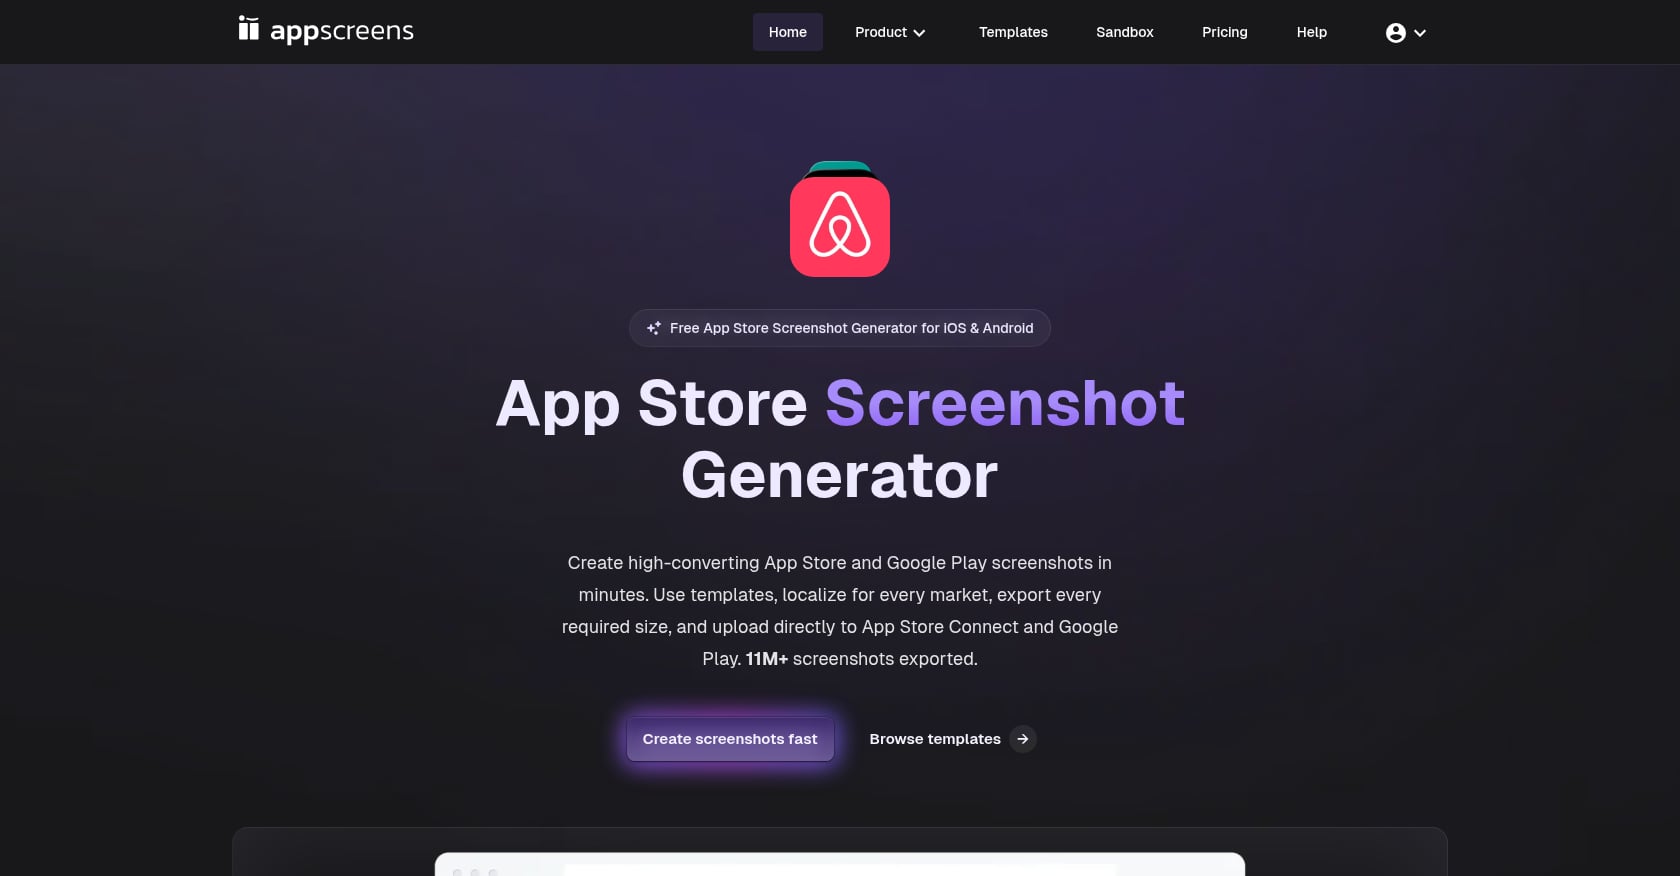
AppScreens stands out with its responsive design engine: create one layout that automatically adjusts to fit iPhones, iPads, Android devices, and desktop screens. The one-click upload to both Apple and Google app stores is a genuine time-saver when you’re managing multiple products.
Pricing:
Pro: $25/mo or $90/year (10 projects, 5 localizations)
Scale: $50/mo or $180/year (unlimited projects, 80 localizations)
Key features:
Responsive design engine (one layout adapts to all device sizes)
Auto-upload to App Store Connect and Google Play Console
Trusted by 70,000+ developers who’ve created over 5 million screenshots
Supports dozens of localization languages
Tradeoffs:
Agency pricing for what might be a single indie app. The indie developer launching one app pays for capacity they’ll never use.
The localization workflow is tedious. You need to navigate several settings and menus to translate.
Reviewers have noted that automatic scaling occasionally produces iPad screenshots at dimensions App Store Connect rejects.
4. AppMockUp Studio
Best for: Budget-conscious indie devs who need quick, no-strings-attached screenshots.
AppMockUp is genuinely free with no watermarks on basic exports. That alone puts it in a different category from tools that use “free” as bait for a paywall.
Pricing: Free. No paid tier currently required for basic use.
Key features:
Pattern generator and mesh gradient backgrounds
Device frames and highlights tool
No account or credit card required for basic exports
Has been free for over two years
Tradeoffs:
Less automation compared to paid tools. You’re doing more manual work per screenshot.
If you need 50 different screenshots across devices and languages, the manual overhead becomes painful.
No localization features.
No direct App Store upload.
User perspective: One user said AppMockUp “easily saved me 2-3 hours” and would “pay $69 for a lifetime license right now if they offered it, that is how good it is.” That kind of unprompted willingness to pay says a lot about the value.
5. Screenshots Pro
Best for: Teams scaling internationally who need API-driven automation and panoramic screenshot designs.
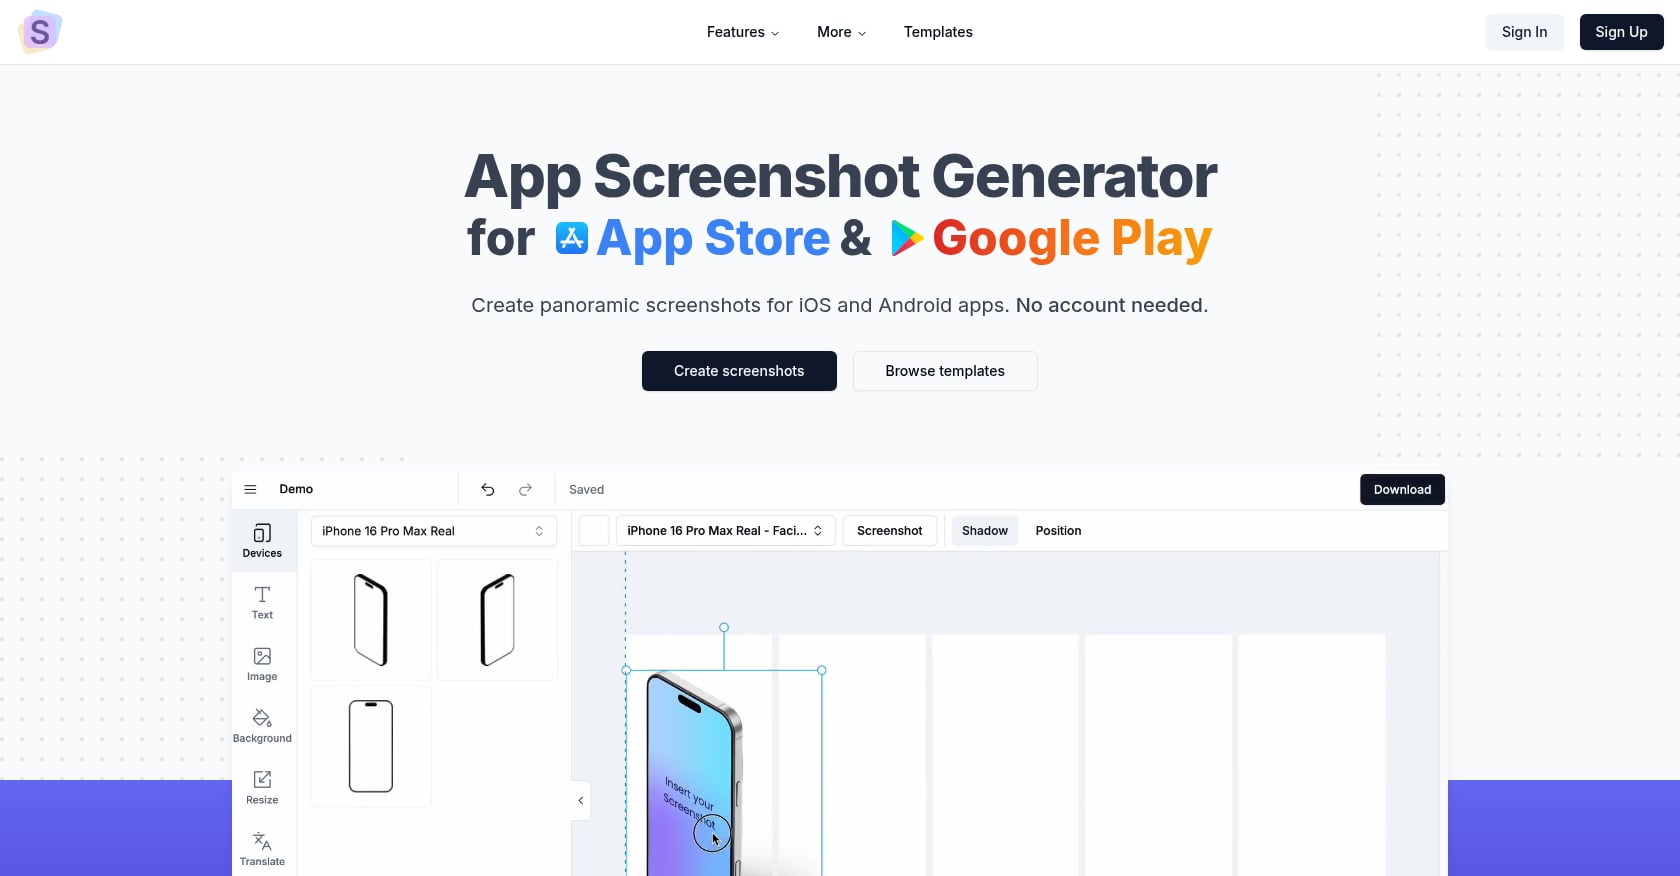
Screenshots Pro differentiates with panoramic screenshots that create a standout, edge-to-edge look on the App Store. The real power user feature is the API, which lets you automate screenshot generation programmatically and integrate it into CI/CD pipelines.
Pricing:
Free limited plan
Standard: $19/mo or $149/year
Pro: $59/mo
Extended: $379/year
Key features:
Panoramic screenshot layouts
Advanced customization (device mockups, fonts, brand colors)
Programming API for automated pipeline generation
Supports both iOS and Android dimensions
Tradeoffs:
Steeper learning curve than simpler template-based tools.
Higher price point, especially at the Pro and Extended tiers.
The API requires technical knowledge to set up and maintain.
6. ButterKit
Best for: Apple-first developers who want offline, native performance and one-time pricing.
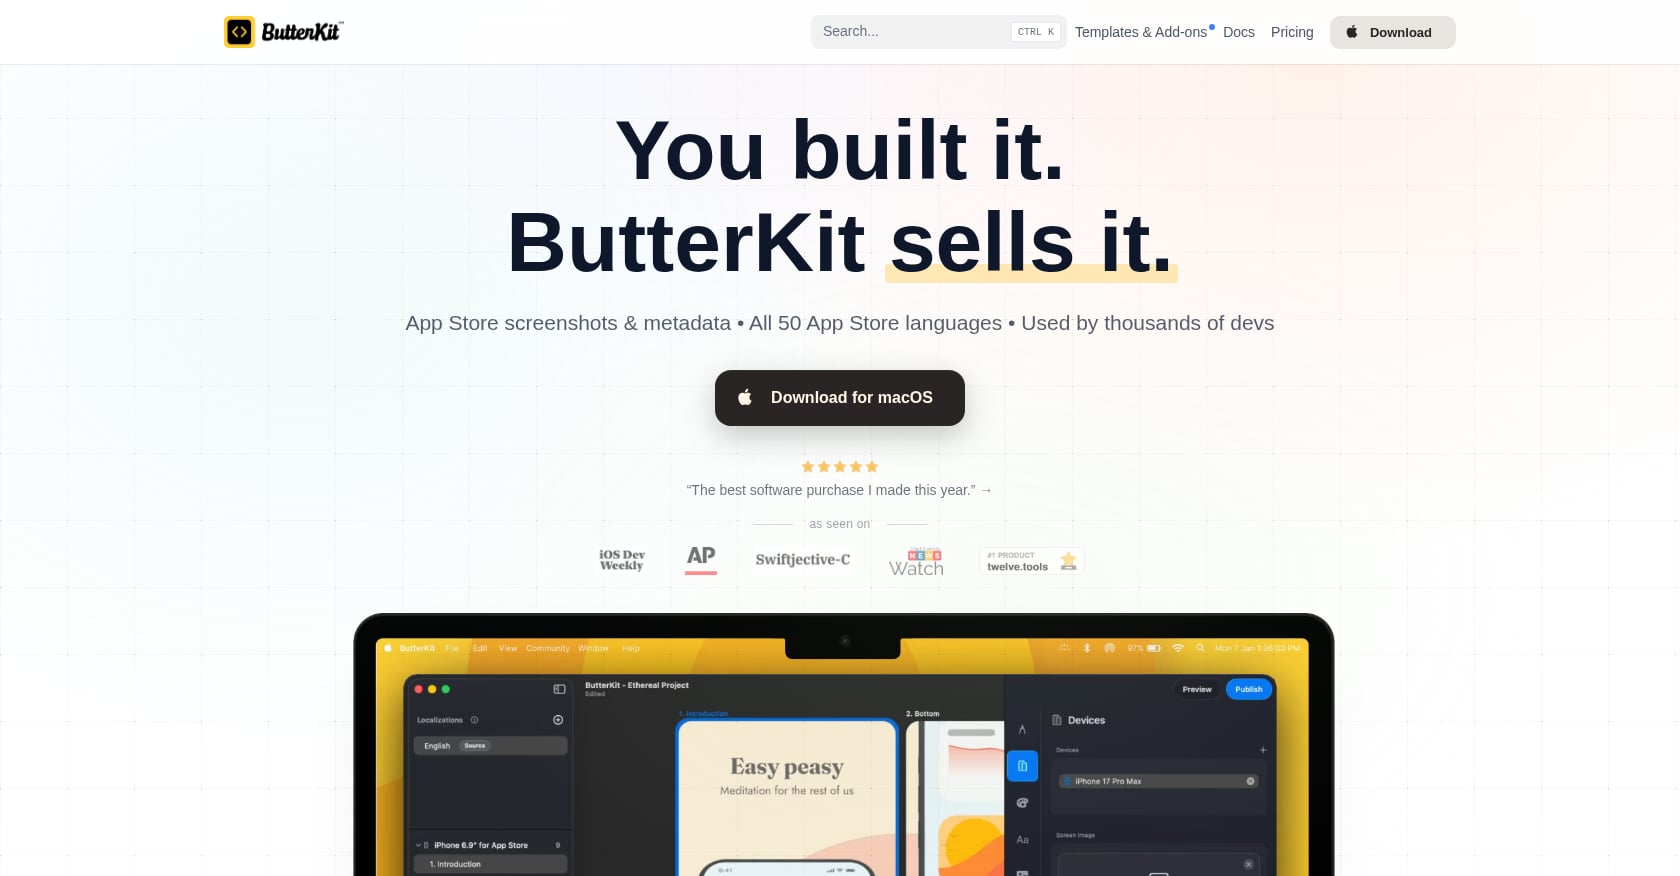
ButterKit is a native Mac app, not a web tool. It runs entirely on your machine using a Metal-based 3D rendering engine at up to 120fps. The 4.7-star rating on the Mac App Store and a one-time pricing option make it attractive for developers tired of monthly subscriptions.
Pricing:
$79 one-time lifetime license
$39/year subscription option
No ongoing server costs because it runs locally
Key features:
Metal-based 3D rendering engine (120fps)
Uploads directly to App Store Connect via the official API
AI-powered translation to all 50 App Store languages
Xcode Simulator capture integration
Tradeoffs:
macOS only. No web access, no Windows, no collaboration with non-Mac teammates.
No free tier.
Smaller template library than cloud-based competitors.
User perspective: Featured in iOS Dev Weekly, ButterKit gets praise from developers specifically for the Xcode Simulator capture feature and the fact that a one-time price is sustainable because there are no server costs.
7. Launch Shots
Best for: Indie developers wanting the most complete free workflow with no watermarks.
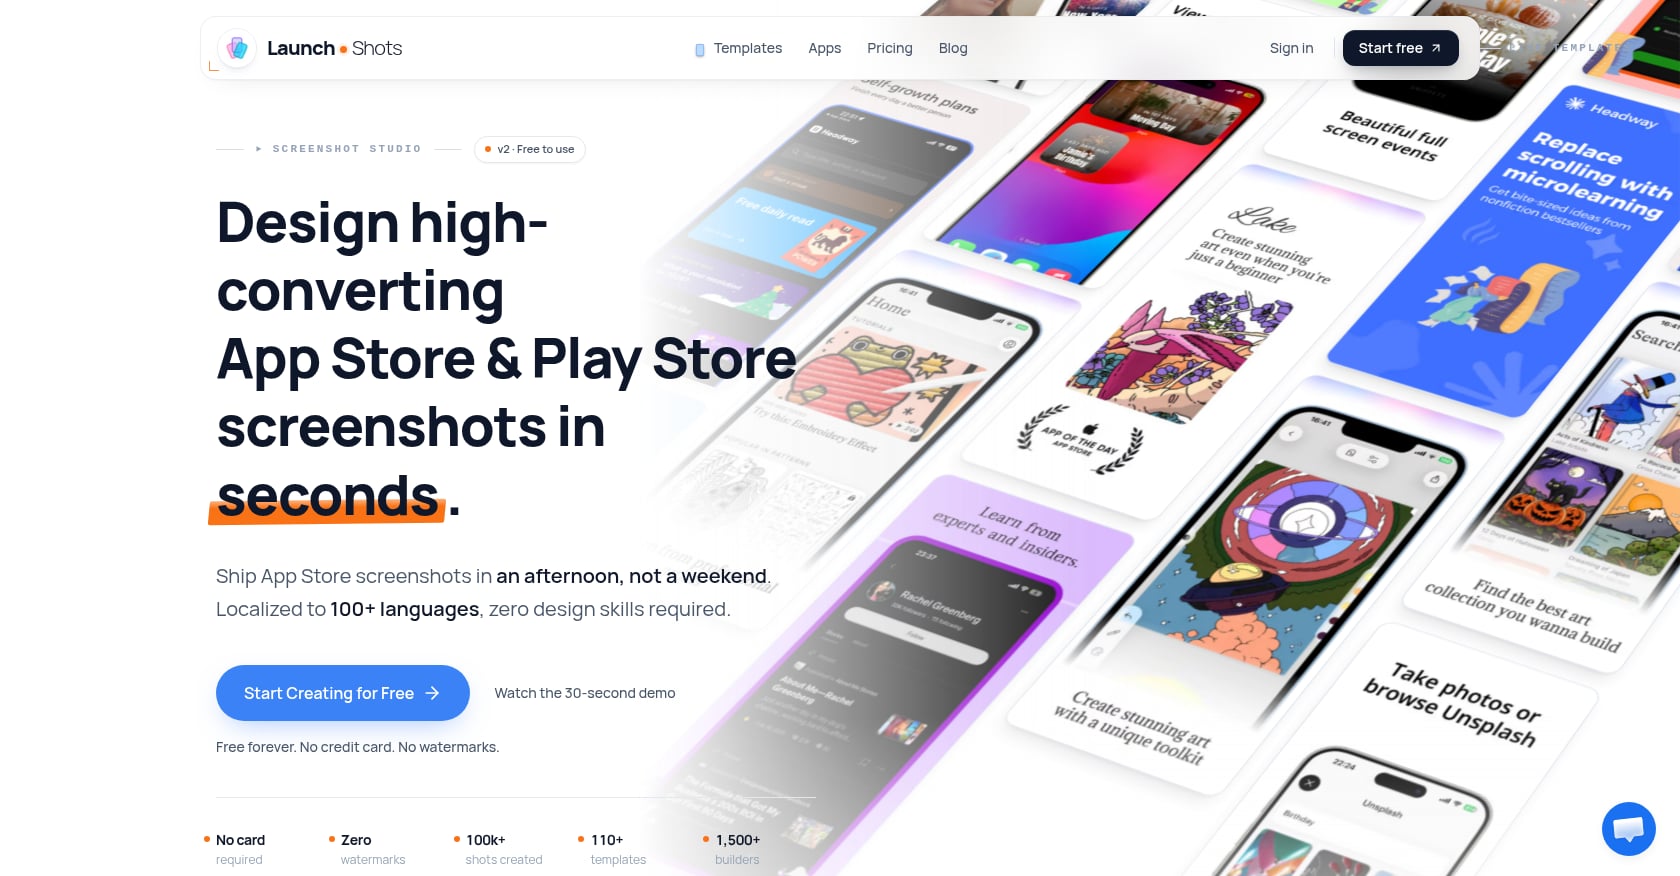
Launch Shots offers a surprisingly capable free plan with no watermarks, direct upload to both App Store Connect and Google Play Console, and AI localization to 100+ languages. The credit-based pricing is also appealing because credits never expire.
Pricing:
Free plan (no watermarks)
From $0.85/credit (credits never expire)
$9/mo billed annually for unlimited access
Key features:
75+ templates
AI localization to 100+ languages
No watermarks on the free plan
Direct upload to both app stores
Tradeoffs:
Smaller template library than AppLaunchpad (75+ vs. 1,000+).
Newer tool with less established community.
Credit pricing can be confusing compared to flat monthly rates.
8. Nuvex
Best for: Users who want AI to compose the entire screenshot design rather than picking templates.
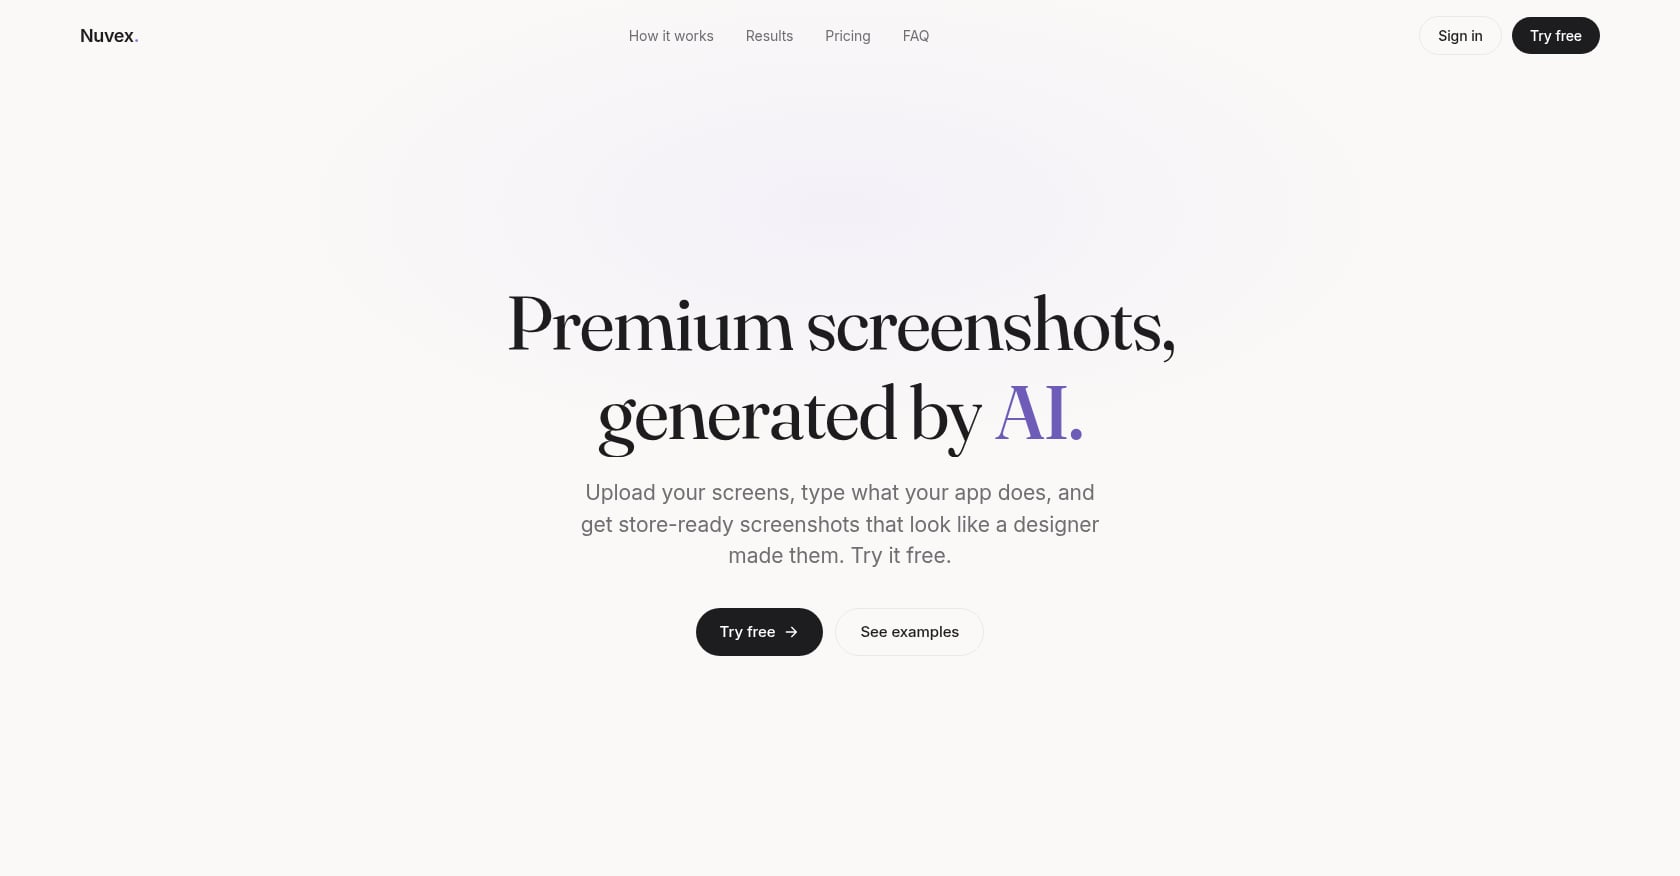
Nuvex represents the AI-first category of screenshot tools. Instead of browsing templates and customizing them, you provide your inputs and the AI generates the full design: layout, background, headlines, and typography, all composed per-app.
Pricing: Credit-based with a free starter pack. Credits never expire.
Key features:
AI generates complete designs (no template selection needed)
Per-app composition rather than generic templates
Handles layout, background, headlines, and typography automatically
Tradeoffs:
Newer entrant with a smaller user base.
Less control over the final output compared to manual template tools.
The AI composition quality varies, sometimes requiring multiple generations.
Limited track record for edge cases (unusual app categories, complex UI).
Industry context: Nuvex published a useful market map categorizing the screenshot tool space into four quadrants: full AI composition, template-first with AI assist, pure template, and mockup/scene tools. Their advice: “Pick a tool that matches the job you have, not the one that’s most popular.”
9. Fastlane (Open-Source Automation)
Best for: Technical developers with CI/CD pipelines who ship frequent updates.
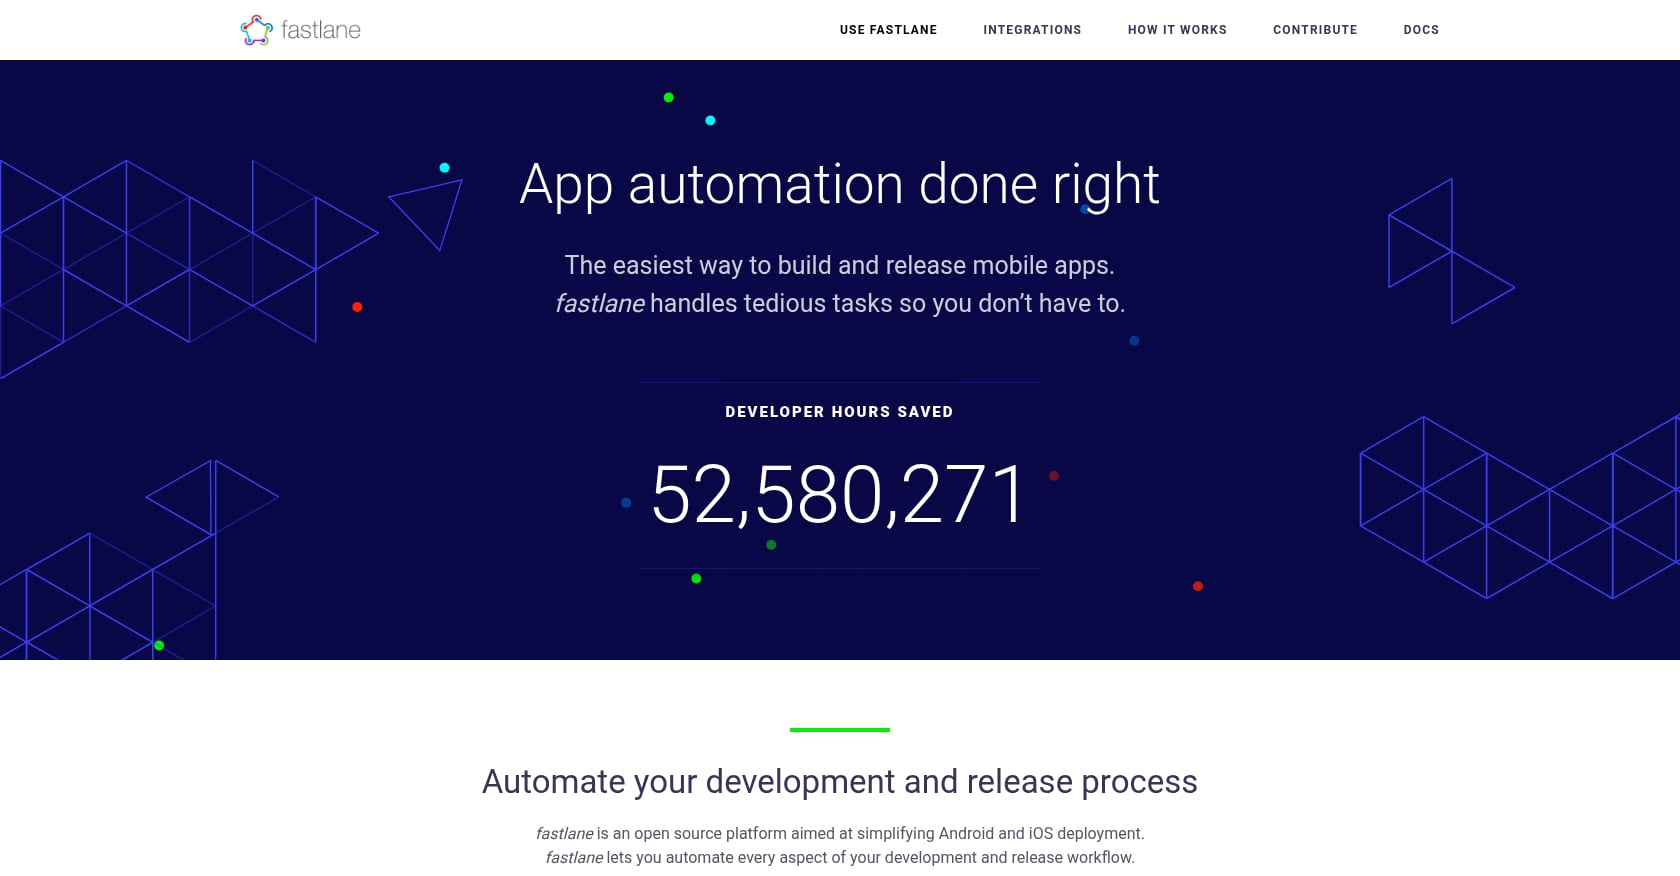
Fastlane is a Ruby toolchain for automating iOS and Android app deployment. Its three screenshot-related actions (snapshot for capture, frameit for device frames, and deliver for upload) cover the full pipeline from capturing screens to pushing them to App Store Connect.
Pricing: Free and open-source.
Key features:
snapshot: Automated screen capture across simulatorsframeit: Adds device frames and text overlaysdeliver: Uploads directly to App Store ConnectIntegrates with any CI/CD system
Tradeoffs:
Covers capture and framing, not visual design. Your screenshots will look functional, not polished.
Requires Xcode, Ruby, and significant setup time.
The developer community’s experience is consistent: initial setup takes significantly longer than expected, and maintenance burden is real.
No templates, no drag-and-drop, no design tools whatsoever.
Practitioner insight: Developers on Reddit’s r/swift community frequently recommend Fastlane for automated capture but note that most teams still use a separate design tool to make screenshots visually appealing. Fastlane gives you raw screens; it doesn’t give you marketing assets.
Three methods now exist for automating app store screenshots in 2026: Fastlane snapshot for raw capture, screenshot generation APIs (like Screenshots Pro’s) for designed assets, and MCP servers that generate screenshots directly from your code editor.
10. Figma Templates (DIY Approach)
Best for: Designers who already use Figma and want total creative freedom.
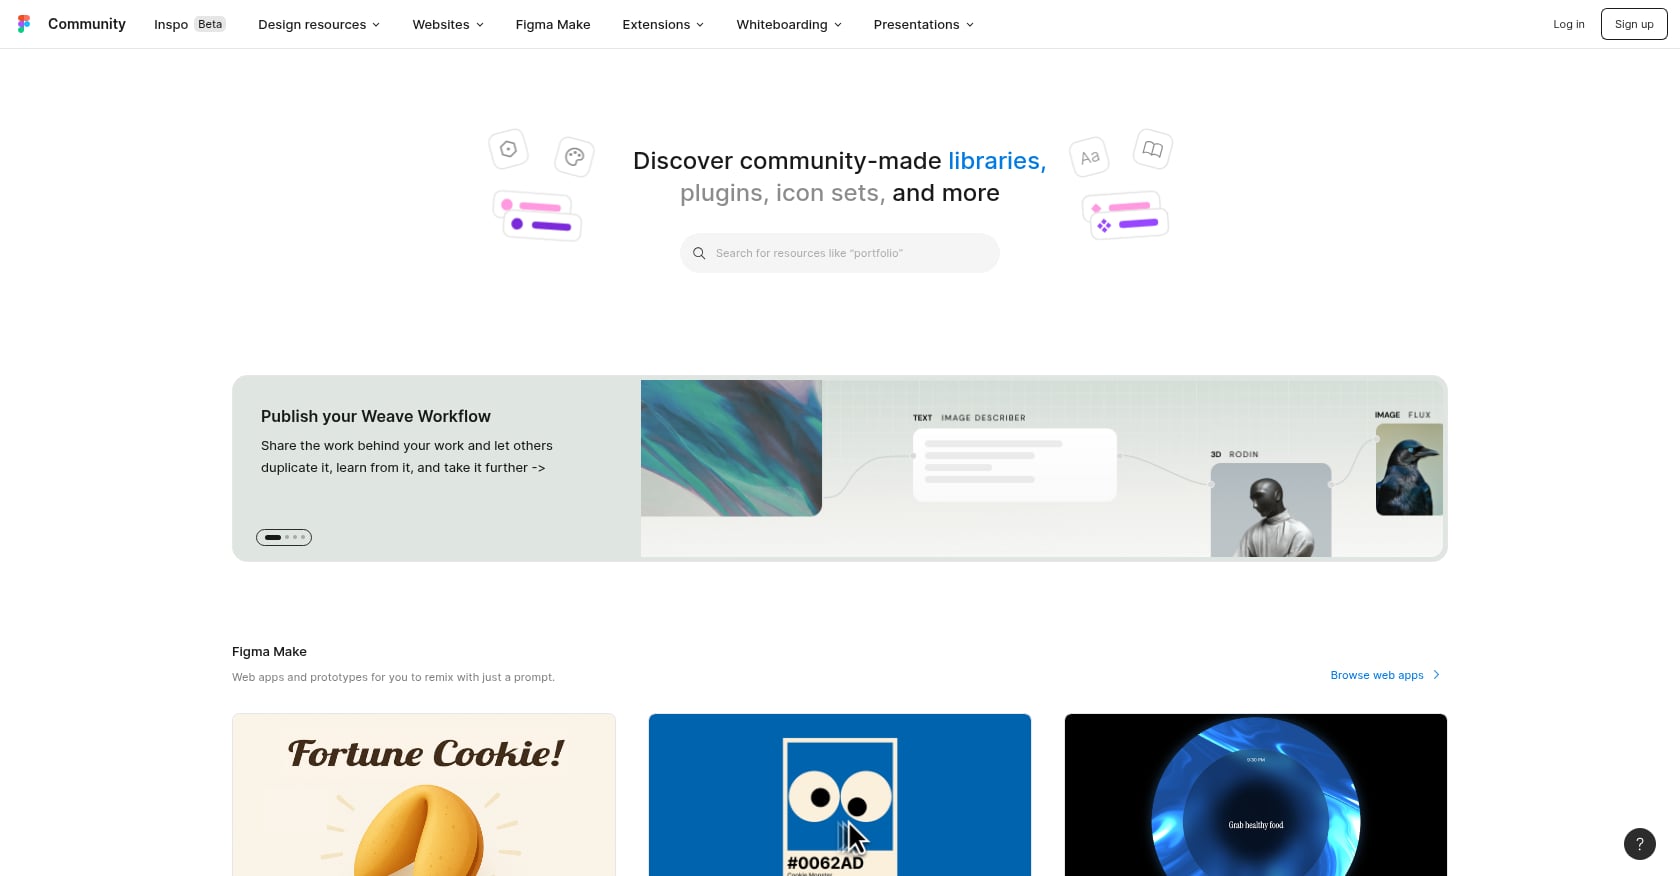
The Figma Community offers free app store screenshot templates that give you complete control over every pixel. If you already have a Figma subscription and strong design skills, this is the most flexible approach.
Pricing: Free (via Figma Community templates) or included in a Figma subscription.
Key features:
Full design control over every element
Thousands of community templates available
Familiar interface for anyone already using Figma
Vector-based, so scaling is clean
Tradeoffs:
3 to 4 hours per screenshot set, plus ongoing maintenance as Apple’s requirements change.
No automation whatsoever. Every resize, every localization, every device variant is manual.
No direct App Store upload.
No localization features beyond copy/paste.
For someone building their first app without coding, spending half a day in Figma just for screenshots probably isn’t the best use of time.
Screenshot Best Practices That Actually Move Downloads
Tools matter, but what you put in the screenshots matters more. Users decide whether to install in roughly three seconds, and around 90% never scroll past the third screenshot.
Lead with emotion, not features. One indie developer guide from 2026 nails this: “The first screenshot must do the heavy lifting. Strip it down to one strong headline and one hero visual. Lead with the emotional benefit rather than a list of features.” Show what the user gets, not what the app does.
Show the app at its best state. Never use empty states, loading screens, or settings menus. The screenshots should show the app populated with realistic, attractive data.
Portrait for most apps, landscape only for games. Unless your app is a game or video player, portrait orientation is standard and expected.
Localize your top 3 markets first. You don’t need all 50 App Store languages on day one. Start with the markets where your analytics show the most interest, then expand. The 33-36% conversion lift from localization compounds across each additional language. This kind of preparation connects to broader App Store readiness, which goes well beyond screenshots.
Don’t forget 50% of installs come from list-view snapshots. That means the first screenshot and your app icon together are doing most of the work. Treat them as a pair.
Recommended Screenshot Order
Screenshot | Goal |
|---|---|
1 | Biggest benefit |
2 | Primary feature |
3 | Social proof or outcome |
4 | Secondary features |
5 | Workflow |
6 | Personalization |
7 | Integrations |
8 | Security |
9 | Premium features |
10 | Final CTA |
How to Choose: A Simple Decision Framework
If you haven’t built your app yet: Starting with a screenshot tool is backwards. Build first, then create screenshots from the real product. An integrated studio like x1 handles both in one workflow, which is the entire point.
If you need free and simple: AppMockUp Studio for zero cost, or Launch Shots for a more complete free workflow with localization and direct upload.
If you’re an agency or manage multiple apps: AppScreens. The responsive design engine and auto-upload justify the agency-level pricing.
If you want one-time pricing and native Mac performance: ButterKit at $79 is hard to beat.
If you want AI to do the design thinking: Nuvex for full AI composition, or Launch Shots for AI-assisted templates.
If you’re technical and ship frequently: Fastlane for automated capture, paired with a design tool for the visual layer.
If you’re a designer: Figma templates give you full control, at the cost of significant time.
The tool market has fragmented enough that there’s no single best choice. But there is a clear pattern: the more your screenshot tool integrates with the rest of your workflow, the less friction you’ll face at launch. For non-technical founders especially, reducing the number of tools in the chain matters more than any individual feature.
Explore x1’s plans and pricing to see how screenshots, App Store listings, and submission fit into a single studio.
App Store Screenshot Size Requirements (2026)
Device | Recommended Size |
|---|---|
iPhone 17 Pro Max | 1320 × 2868 |
iPhone 16 Pro | appropriate size |
iPad Pro | appropriate size |
iPad Air | appropriate size |
Template vs AI vs Automation vs Integrated Platforms
Feature | Template Tools | AI Tools | Automation | Integrated Builder |
|---|---|---|---|---|
Speed | Medium | Very Fast | Fast | Fastest |
Design Quality | High | Medium-High | Low | High |
Learning Curve | Easy | Easy | Hard | Easy |
Localization | Usually | Usually | Manual | Included |
Upload | Sometimes | Rarely | Yes | Yes |
Best For | Most users | Beginners | Developers | Founders |
Frequently Asked Questions
What size should app store screenshots be in 2026?
Start with 1320 x 2868 pixels for the iPhone 17 Pro Max (6.9"), which is now the primary flagship size. Apple requires PNG or JPEG format, RGB color space, no alpha channel, and exact pixel dimensions. You can upload between 1 and 10 screenshots per supported device class. Even small pixel discrepancies will trigger upload errors in App Store Connect.
How many app store screenshots should I create?
Apple allows up to 10, but the data suggests front-loading your best work. Around 90% of users don’t scroll past the third screenshot, and 50% of installs come from the list-view snapshot (your first image). Create at least 5, but pour your effort into making the first 3 exceptional.
Do app store screenshots actually affect downloads?
Yes, significantly. Roughly 60% of users make install decisions based on the app name, rating, and screenshots. Screenshot localization alone drives 33-36% conversion gains in case studies, and broader localization has produced 101-128% download increases. Screenshots are the highest-impact visual asset on your listing.
Are free app store screenshot tools good enough?
It depends on the tool. AppMockUp Studio is genuinely free with no watermarks and produces clean results. Launch Shots also offers a usable free tier with direct upload. But many tools (like AppLaunchpad) add watermarks to free exports, making them useless for production. Always check the watermark policy before investing time in a free tool.
Should I use Fastlane for app store screenshots?
Only if you’re a technical developer comfortable with Ruby, Xcode, and CI/CD pipelines. Fastlane automates screen capture and upload but produces raw screens, not designed marketing assets. Practitioners consistently report that setup takes longer than expected and maintenance is ongoing. Most teams pair Fastlane capture with a separate design tool.
What’s the difference between template-based and AI-generated screenshots?
Template tools (AppLaunchpad, Screenshots Pro) give you pre-designed layouts to customize. AI-generated tools (Nuvex) compose the entire design from scratch based on your inputs. Templates offer more control and predictability. AI tools are faster but less precise. A third category, template-plus-AI tools (AppScreens, Launch Shots), sits in between.
How long does it take to create app store screenshots?
With a dedicated screenshot tool, most developers finish a set in 1-2 hours. The DIY Figma approach takes 3-4 hours per set. Using an integrated studio like x1, screenshots are created as part of the launch workflow, so there’s no separate time block. Without any tool, practitioners report spending 1-3 full days per release, especially when factoring in localization and multiple device sizes.
Do I need screenshots for both iPhone and iPad?
If your app supports iPad, Apple requires iPad-specific screenshots at iPad dimensions. Most screenshot tools handle both, but it doubles your asset count. If you’re launching an iPhone-only app, you only need iPhone screenshots. Every tool in this comparison covers iPhone dimensions; iPad support varies by tool.